DIY Suunto Vyper Data Cable
September 23, 2018
To buy the cable from Suunto for connecting my Vyper dive computer to my desktop computer is absurdly expensive. On Amazon it goes for $85. Fortunately I was able to find info online about building an adapter from components I already had.
- PDF from which I mainly adapted this circuit
- Image gallery with ideas of how to made the physical connection (click “Picture Gallery” on the sidebar)
The main downside of the info already available was that much of it was designed for hooking up to a serial port (which computers don’t really have any more), or was simply more complicated than strictly needed. Below is what I believe to be the simplest and probably cheapest way to build a vyper interface cable.
The Suunto software doesn’t seem to work with this, but from reading around I’m not sure if my adapter is to blame or it’s just that the software is crap. I’ve been using the fantastic Subsurface software on Windows 10. This should work fine on Linux as well.
Obviously you should know what you are doing and I take no responsibility if you kill any of your computers, or really for anything else in your life.
Parts List
- 3.3 V capable Serial to USB adapter (Link)
- Old floppy disk drive power connector
- NPN transistor (such as 2N3904)
- 10 kOhm resistors (x3)
- 100 kOhm resistor (x1)
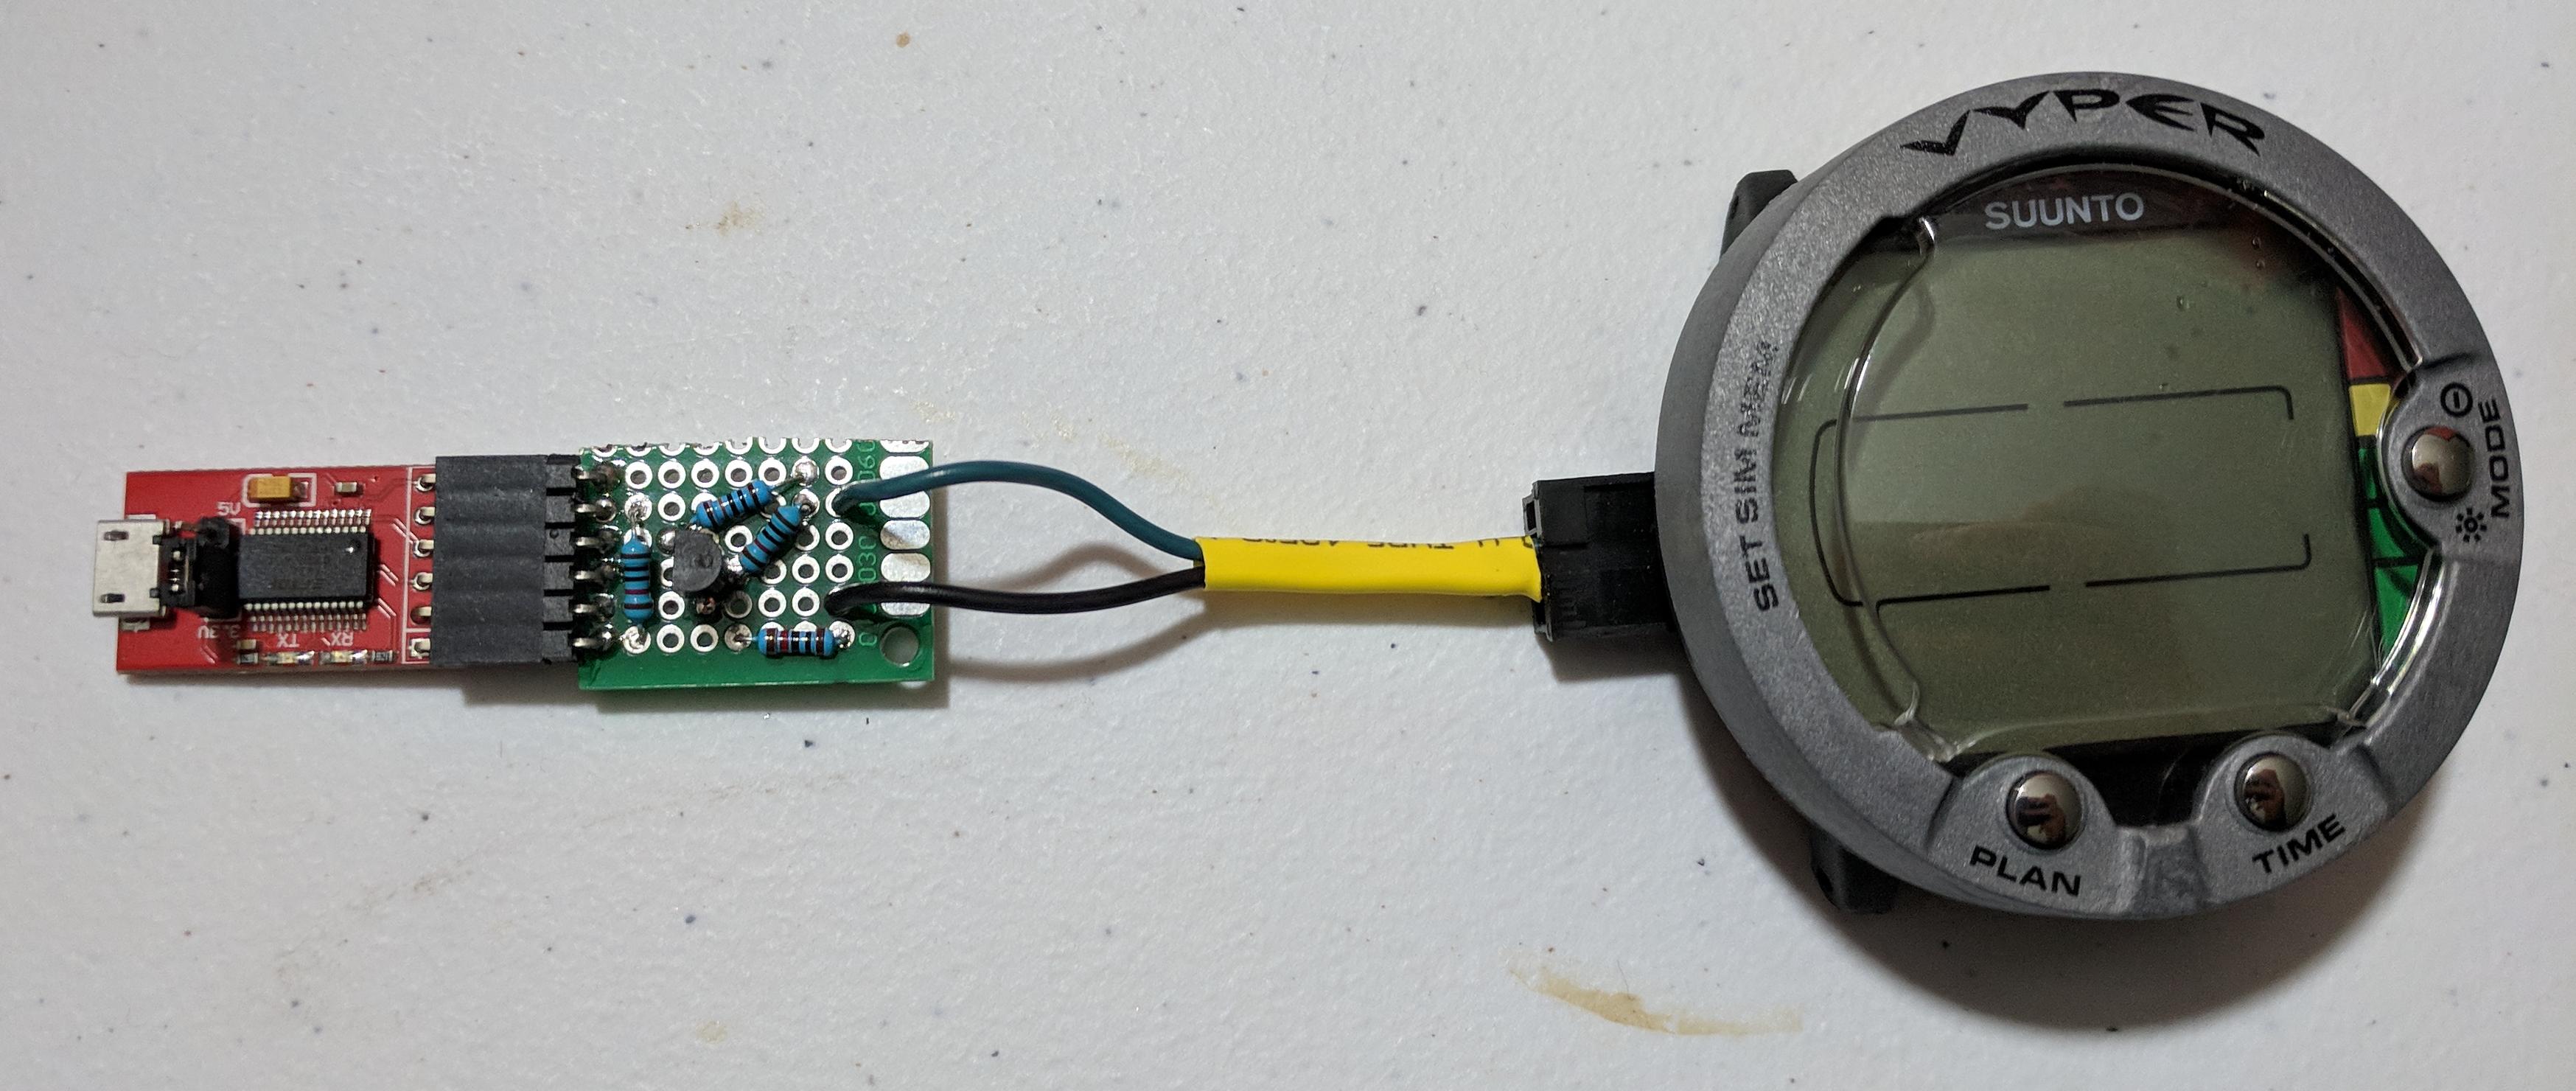
The finished product

So fancy

Oh yeah that fits nice

Grind down the connector a bit in two places so the wire can be more flush.

Apparently the computer uses negative voltage for logic high (at least according to this one place on the internet, I’m not actually sure they are correct, but this works so I’m just going with it for now). With the computer face down and the two pin data port facing you, common is on the right and the I/O pin is on the left.

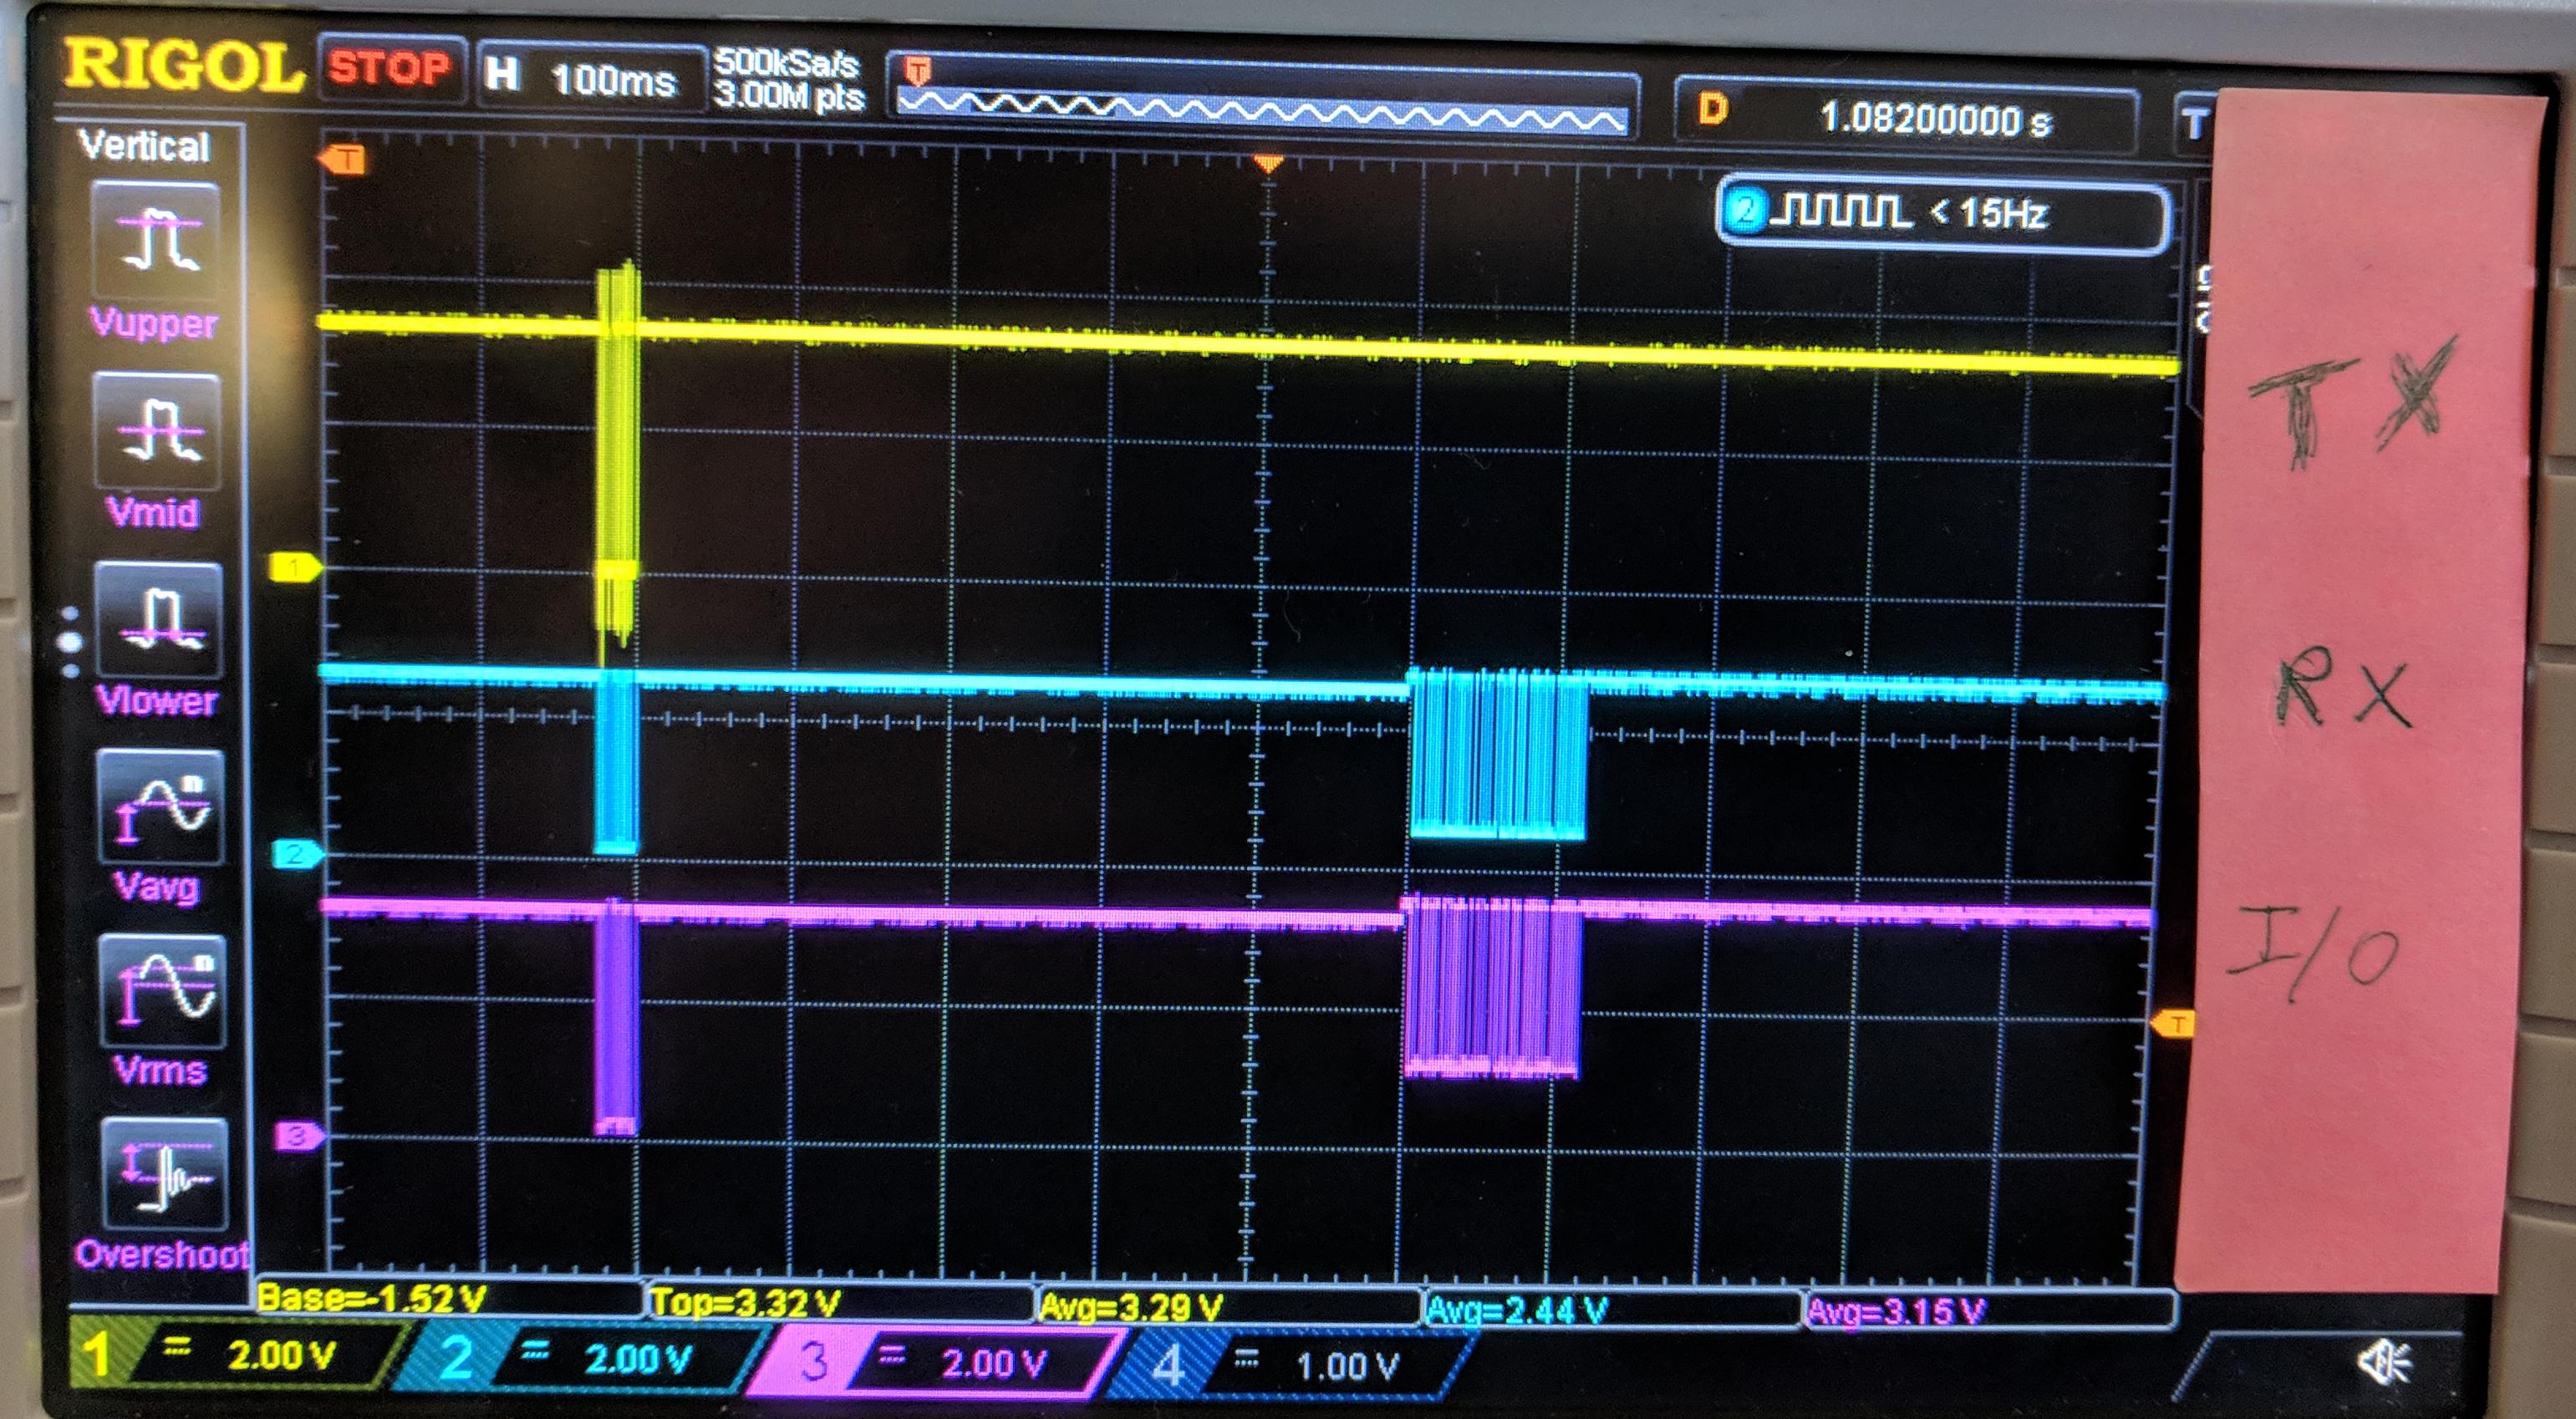
There is an initial burst of data being sent to the vyper and then the rest is data being sent from the vyper.
